You fix a product photo, resubmit it, and somehow end up right back under the same warning. For an indie shop owner, Google Product Studio listing images can feel like a shortcut until a rejected listing turns one photo into an hour of cleanup, checking, and guessing. The frustrating part is that the picture can look perfectly fine in your store and still fail the rules that decide whether it shows up at all.
Image rejections waste more than time. They stall products that were ready to sell, scramble whatever photo process you already had, and push you into redoing work without knowing which detail actually tripped the system. When the real problem might be an overlay, a file limit, blocked access, or an AI-generated export that lost the wrong metadata, trial and error gets expensive fast.
Diagnosis: Identify the exact image rejection category

You refreshed your Merchant Center dashboard this morning and found another product flagged, same red banner, same vague language. “Image does not meet requirements.” No line number, no arrow pointing at the problem, just a disapproval sitting between you and a live listing. Before you touch the image, you need to know exactly what triggered it, because fixing the wrong thing means doing this twice.
Merchant Center’s image rejections fall into a handful of distinct categories, and most sellers conflate them. The first is obstruction: your product must be fully visible, with nothing covering it. A price sticker in the corner, a watermark, a logo functioning as a brand element, a promotional badge that says “Sale” or “Free Shipping”, any of these can trigger a disapproval even if the product itself looks great. Google’s automated image-improvement tool will attempt to strip detected overlays, but the documentation is clear that the resulting image can still be rejected if another policy is violated, so the automation is a starting point.
The second category is image quality. Minimum dimensions sit at 250×250 pixels for apparel and 100×100 pixels for everything else, with a 16 MB ceiling on file size. An image that looks fine on your product page can still be too small by Merchant Center’s standard. “Generic images” draw their own disapproval type, meaning a placeholder or a stock photo that doesn’t show your actual product will keep the listing inactive until you swap it.
The third category surprises sellers who’ve done everything else right: crawl access. If your robots.txt file blocks Googlebot-image, Merchant Center can’t retrieve the image at all, and the listing gets flagged without the image ever being evaluated on its merits.
Identifying which category you’re dealing with changes the repair path entirely. Obstruction issues point toward editing tools. Size and format issues point toward export settings. Crawl issues point toward your server configuration. Google Product Studio, available through Merchant Center Next or the Google & YouTube app in Shopify, can help with the first category specifically, though it’s still marked experimental and carries content restrictions worth checking before you build a workflow around it.
Isolation: Validate file limits and remove overlays
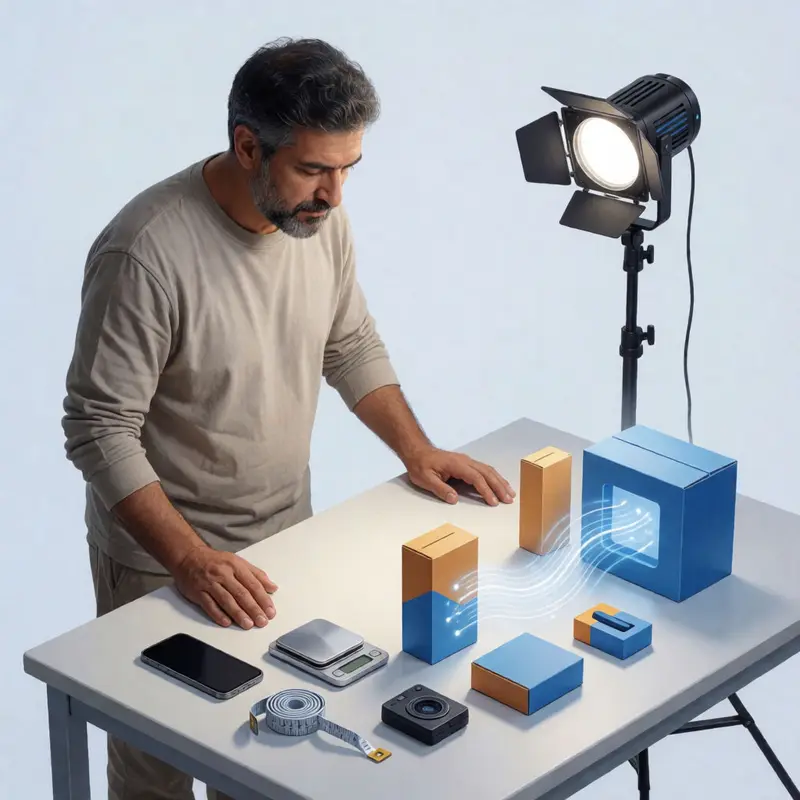
Once you’ve placed your image into Product Studio, the real validation work begins, and it runs on a short checklist that Google’s own disapproval logic follows.
Start with the file itself. Merchant Center accepts JPEG, WebP, PNG, GIF, BMP, and TIFF formats; anything outside that list won’t render in Shopping ads and will trigger an immediate flag. Beyond format, the ceiling is 64 megapixels or 16 MB, whichever you hit first. A high-resolution studio shot exported carelessly can clear both minimums and still blow past the megapixel cap, so check the exported file size before you submit, not after.
The overlay rules are where most sellers lose time. Promotional text, sale badges, watermarks, and branding elements anywhere on the image surface will get the listing disapproved under Merchant Center’s “Text on image” policy. Google can attempt automatic removal of detected overlays, though not always successfully, which means relying on that feature without fixing the source image leaves you dependent on a process that may simply fail and send the item back to rejected. The cleaner path is to produce an image that never needed automatic correction in the first place: product centered, background preferably solid white, no human hands or figures in frame, no text.
Product Studio enforces one more constraint to confirm early, so you do not invest time building around it. If your product falls into a regulated category, including alcohol, pharmaceuticals, gambling-related goods, weapons, tobacco, fireworks, or medical devices, Product Studio won’t generate images for it at all. That restriction applies no matter how you access the tool, whether in Merchant Center Next or the Google and YouTube app. Finding that out mid-workflow is a genuine time cost.
What you’re building toward is an image that clears every layer of Google’s evaluation in sequence: format recognized, dimensions within range, no overlays detected, product clearly identifiable, category eligible. An image that passes all five doesn’t get a second look from the system.
Fix: Generate policy-safe images with intact AI metadata
Clearing every technical gate means nothing if the image you’re submitting wasn’t built to pass them from the start. The workflow in Product Studio has a specific sequence, and skipping steps in it is where compliant-looking images quietly pick up violations.
Navigate to Creative content, open Product Studio, and choose “Generate image.” Upload your product photo and describe the scene you want. Google’s own guidance recommends keeping the product front-and-center, occupying between 75% and 90% of the frame, which keeps the subject identifiable without crowding the edges. Products like consumer packaged goods tend to generate the cleanest outputs; anything with hands or human figures in the original shot, or wall art and light fixtures, won’t process well because Product Studio excludes those image types from its generation pipeline.
When you select a generated scene and push it back into Merchant Center, that file carries embedded metadata automatically, specifically an IPTC DigitalSourceType tag identifying it as AI-generated. Google requires that metadata to stay intact. Don’t strip it through post-processing or format conversion after the fact; the requirement applies to the final submitted file. For your main image, target anything above 1024 pixels on the long edge to qualify as high-resolution. Apparel products carry a stricter floor at 250×250 pixels, so if you’re in that category, verify dimensions before you leave the tool.
Because Product Studio’s generative features are experimental, a generated scene can occasionally miss the brief in ways that are hard to predict, a background texture that crowds the product, or a color cast that reads as a branded overlay to Google’s classifier. Generate two or three variations before committing. That takes roughly the same time as regenerating after a rejection, and it leaves you with alternates ready for the additional image slots, which can hold up to ten images beyond your main.
Set your strongest output as the main image_link, then stage the remaining variations as additional_image_link entries showing the product in use or from alternate angles. You’re not just satisfying minimums at that point; you’re building a listing that gives the system less reason to look twice.
Verification: Clear “needs attention” with bulk fixes

Getting the images right is only half the job. What happens after you submit determines whether your work actually sticks.
Once you’ve pushed corrected image_link values back into Merchant Center, the place to watch is the “Needs attention” tab under Products. This page groups every active issue by type and tells you how many products each one is touching, so you’re not hunting through individual listings to find what’s still broken. Open an issue card and Merchant Center surfaces a filtered list of affected products, which you can sort by click potential or status to decide where a fix matters most first.
If you’re correcting the same image problem across a large chunk of your catalog, the bulk path is faster than editing one product at a time. From the “All products” tab, select the affected listings, choose Edit, pick the image_link field, and apply the updated URL to the whole selection at once, though Google notes this workflow isn’t guaranteed to be available for every account, so if the option doesn’t appear, the download-and-reupload route covers the same ground. Download the affected products as a feed file, update the image_link column with your corrected URLs, and reupload. Merchant Center processes the batch and the “Needs attention” count drops as each item clears review.
For accounts where manual correction feels unsustainable, Merchant Center’s automatic image improvements automation is worth enabling. It can strip text, watermarks, overlays, and logos from product images without any action on your part, and you can identify which images it has touched through a label in the Needs attention workflow. The tradeoff is that a generated or auto-corrected image can occasionally surprise you, which is reason enough to spot-check a sample after any automated run rather than assuming every output landed cleanly.
Clear the “Needs attention” queue down to zero and the tab becomes your early-warning system rather than your backlog. A listing that passes today and flags tomorrow tells you exactly what changed, and Google product studio listing images give you a way to correct it before the rejection compounds.
Final thoughts
A rejected product image is often a workflow problem wearing the mask of a photo problem. Once you see how file limits, policy rules, metadata, and post-submit checks all touch the same listing, the real job becomes building images that survive the whole path from upload to review. That shift saves more effort than any one-off edit ever will.
Merchant Center’s Needs attention queue works best as a control panel, because it shows whether your image process is holding up under repeat use. If your Google product studio listing images are clean before submission and easy to replace in bulk after submission, rejections stop feeling random. They become signals you can act on before they pile up.